
Guides & Advice
How to Fix Scratched Leather: Scuffs, Pale Lines and Gouges
Sep
How to fix scratched leather depends on one thing before any product: how deep the scratch goes and what finish the leather has. A light mark on waxed leather can vanish under a thumb in ten seconds, while the same mark on a pigmented bag needs colour, and a gouge needs filler. Most failed repairs come from using the right product on the wrong scratch, usually oil on a scratch that has lost its colour, which darkens the patch and makes it more visible. This guide sorts scratches into three depths, matches each to a method, and covers the materials where the usual advice does damage. We sell bags in the leathers that scratch most visibly, and the figures below come from our own men’s leather bag collection.
- Read the scratch before touching it
- Which leather you have changes everything
- Light scratches: rub, warm, condition
- Scratches that lost their colour
- Gouges and deep cuts
- What never to put on a scratch
- What to keep at hand
- In short
Read the scratch before touching it
Look at the mark in daylight and run a fingernail across it. That test sorts almost every case.
| What you see | Depth | Method |
|---|---|---|
| Lighter line, nail does not catch | Surface scuff in the wax or oil layer | Rub, gentle warmth, conditioner |
| Pale or white line, nail barely catches | Finish or colour layer broken | Colour balm or dye touch up |
| Raised fibres, nail catches clearly | Grain cut into | Trim, filler, then colour |
| Hole or split through the hide | Structural | Leather patch or a cobbler |
If you are unsure, treat the scratch as one level shallower than it looks and start there. Every method below is reversible except dye and filler, so the gentle ones cost nothing to try first. A mark that is actually dried dirt in the grain will lift with a damp cloth, which is why cleaning comes before any repair, as in our guide on how to clean a leather bag.
Which leather you have changes everything
Scratch repair advice online is written mostly for sofas and car seats, which are almost always pigmented leather. Bags vary far more, and the finish decides whether a scratch heals or needs covering.
- Pull up leathers, sold as crazy horse, waxed or oiled leather, carry wax and oil in the fibres. A scratch moves that wax around, and rubbing moves it back. These are the easiest leathers to fix and the hardest to keep unmarked, and our guide to crazy horse leather explains why.
- Aniline and lightly finished leathers absorb conditioner, so a light scratch fades as the surface is fed.
- Pigmented and corrected grain leathers have a coloured coating. Once the coating is scratched through, only colour brings it back.
- PU leather has a polyurethane surface over a backing. Its surface does not absorb oil the way hide does, so a scratch is fixed with colour and sealing, and a balm only evens the sheen afterwards.
Across our catalogue of 1,310 products, 20 leather goods name crazy horse, waxed or oiled leather in their title, and 77 name PU or faux leather. Those are the two ends of the scale: the first group heals under a thumb, the second needs a colour match. Neither is the weaker material, they simply repair by different routes.
Light scratches: rub, warm, condition
For a scuff where the nail does not catch, work through these steps in order and stop as soon as the mark is gone.
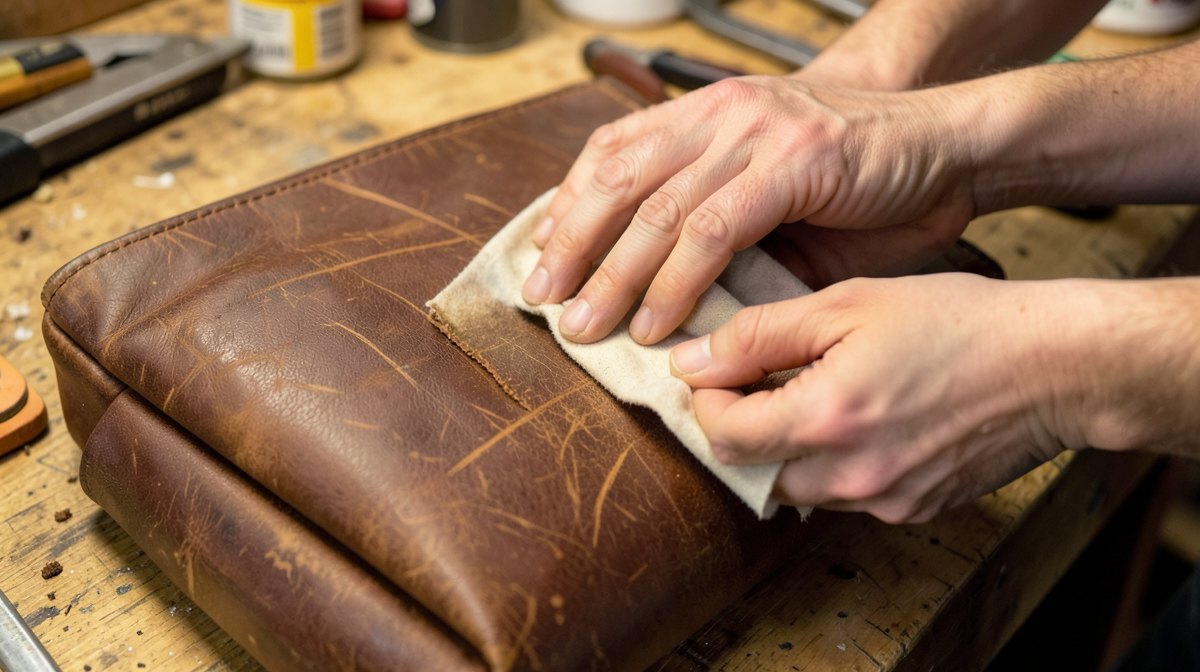
- Rub with a clean fingertip in small circles for twenty to thirty seconds. Skin warmth and a trace of natural oil are enough to redistribute wax on pull up leather.
- Buff with a soft dry cloth, cotton or microfibre, using light pressure along the scratch.
- Add gentle warmth on pull up leather only: a hair dryer on low, held a hand’s width away, for a few seconds, then rub again while the surface is warm. Stop at once if the leather darkens more than the surrounding area.
- Apply a thin layer of conditioner on the whole panel, not just the scratch, so the colour stays even. Our leather conditioning guide covers the quantity and drying time.
Expect a fixed scuff on pull up leather to look slightly darker for a day or two, then blend in. That is the same wax migration that builds a leather patina, and on these leathers small marks become part of it over the months.
Scratches that lost their colour
A pale line means the colour layer is broken, and no amount of oil will bring the colour back. It will only darken the fibres underneath and leave a darker line where there was a pale one. The fix is a colour touch up.
- Clean the area with a barely damp cloth and let it dry fully.
- Test the colour on a hidden area first: under a flap, inside a pocket. Dye almost always dries a shade darker than it looks wet.
- Apply with a sponge in thin layers, feathering the edge outward so there is no hard border.
- Let each layer dry before the next, then buff with a soft brush once fully dry.
- Finish with a light conditioner or a neutral wax to seal and even the sheen.
This is exactly what our leather repair kit is built for: a dye, a stiff brush to prepare the area, a sponge to lay the colour and a soft brush to finish. It comes in black, brown and beige, and black is by far the most forgiving because it covers without a visible edge. On PU leather the same method applies with a colour made for coated surfaces, and it works well because the surface is uniform.
Gouges and deep cuts
When the nail catches and fibres stand up, the grain itself has been cut. Colour alone will sit in the groove and show it.
- Trim loose fibres flush with small sharp scissors. Do not pull them.
- Fill the groove with a leather filler in thin layers, letting each dry, until it sits level with the surface.
- Sand the dry filler very lightly with fine grit if it stands proud.
- Colour as above, then seal.
A split through the hide, or a tear at a strap anchor, is a structural repair. Glue on a load bearing point will fail under weight. That is a job for a cobbler or a leather repairer, who can patch from behind and restitch. The same applies to any valuable bag with a light colour, where a visible repair costs more than a professional one. Ink marks look like scratches and are not, so check our guide on how to remove ink from leather before you reach for dye.
What never to put on a scratch
- Olive oil or cooking oils: they darken the patch unevenly and can turn rancid in the fibres.
- Nail polish remover or alcohol: they strip finish and colour around the scratch and widen it.
- Melamine sponges: they are abrasive and sand the finish off the whole area.
- Shoe polish in the wrong shade: it rubs off onto clothes and never matches a bag’s colour exactly.
- Any oil or wax on suede and nubuck: it flattens the nap for good. Those leathers are brushed, not rubbed.
Water deserves a note too. A damp cloth for cleaning is fine; soaking a scratch to swell the fibres, a trick sometimes suggested, leaves a tide mark on most finishes. Our page on whether leather is waterproof explains which finishes tolerate it.
What to keep at hand
- See the leather repair kit, dye, brushes and sponge for scratches that lost their colour.
- See the leather conditioning balm for light scuffs and the final seal after a repair.
- See the leather messenger bags, many in waxed and crazy horse leathers that heal under a thumb.
- See the brown leather bags, the shade where small scratches disappear fastest into the patina.
In short
Run a nail across the scratch first. If it does not catch, rub, warm and condition. If the line is pale, restore colour with a tested dye and seal it. If fibres stand up, trim, fill, then colour, and leave splits to a professional. Keep oil away from colour loss and away from suede entirely. Browse our leather bags knowing that the waxed ones forgive the most.
Frequently asked questions
Can scratches on leather be fixed permanently?
Yes, for most scratches. Surface scuffs on pull up leather disappear for good once the wax is redistributed, and a well matched dye touch up is permanent once sealed. Deep gouges can be filled but may remain faintly visible in raking light.
Does Vaseline fix scratches on leather?
It can hide a light scuff for a while by darkening it, but it sits on the surface, attracts dust and can leave a greasy patch. A proper leather conditioner does the same job without the residue.
How do you fix cat scratches on a leather bag?
Cat scratches are usually several parallel light scratches with raised fibres. Trim the fibres flush, then treat them as colour loss: clean, dye in thin layers, seal. On pull up leather, rubbing alone often removes the lighter ones.
How do you fix scratches on faux leather?
Conditioner alone will not close a scratch on it. Clean the area, then use a colour compound or repair product made for coated or PU surfaces, in thin layers, and let it cure before handling. A thin balm afterwards evens the sheen. Test the shade on a hidden area first, as you would on real leather.
Should I take a scratched bag to a professional?
For a split, a tear at a strap anchor, a light coloured bag or a piece of real value, yes. For scuffs and small colour loss on a dark bag, a home repair done slowly and tested first gives a result most people will never notice.
